Summer is fast approaching, and with it comes an onslaught of beautiful sunsets and breathtaking vacation scenes for you to capture. It’s disappointing to upload vacation photos and find them boring, blurry or not accurate in representing the scene they were intended to capture.
Vagabondish is reader-supported. When you buy through links on our site, we may earn a small affiliate commission. Read our disclosure.
Don’t worry! You can play with your camera’s features to take photos that are well-composed and a step above your average Facebook snapshot. With a few tricks in your pocket, you can make your photos look they were taken by a pro.

© Paul Reynolds
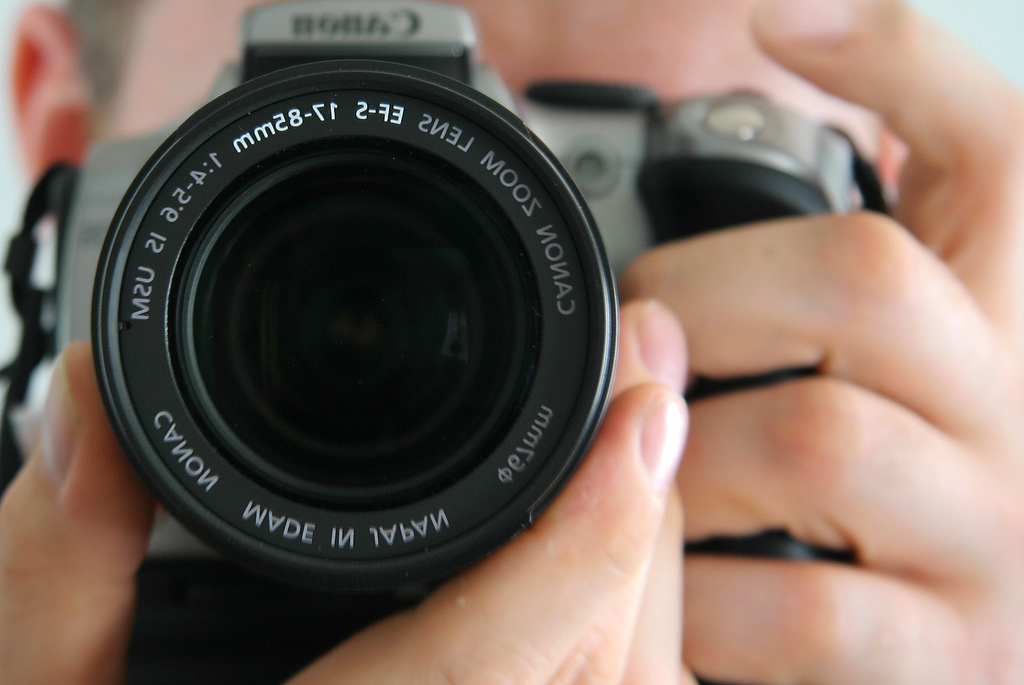
Settings, Settings, Settings
Pull out your camera’s manual and get ready to play with your camera’s focus settings. Your camera’s auto focus is great for taking quick shots without a lot of composition, but it often falls flat when your intended subject is not dead in the center of the viewfinder.
If you want to take a picture of Mount Rushmore but a tree is slightly in the frame, the camera may insist that the tree is the focus of the shot.
Though most cameras have the ability to turn off auto-focus completely, if your camera’s auto-focus cannot be turned off, you can usually half-press the shutter button, hold the button until the desired subject is in focus, and press the button down completely to take the picture.
Your Subject
Have you ever looked through your vacation photos and had a hard time remembering what was so important that you bothered to take the pic in the first place? If so, you’re probably trying to scrunch too much “awesome” into one shot, which can make the end result too busy or the actual subject seem insignificant against a cluttered background.
To take a well-composed photo, get close to your intended target. Point your camera’s lens in such a way that it will block out the majority of the background.
If you’re wanting to capture a beautiful background along with your subject, such as one of your child playing in a lush green lawn, use the rule of thirds. Mentally break up your viewfinder into three equal vertical sections and place the child in on the left or the right column.
Allow the center section to capture your intended landscape or background. Save centered photos for closeups.
Lighting
Frustrated by washed-out or too-dark photos? It’s probably due to your camera’s auto-exposure mode. Unfortunately, when taking a picture of a light or dark object against a contrasting background, it may hurt more than it helps.
Many point and shoot cameras and most DSLR cameras come equipped to allow manual exposure. If your camera doesn’t allow for it, you can still manage over- and under-exposure issues by getting close to your subject and pointing your camera at different parts of the scene. Place the crosshairs on dark spaces, then light ones until your photo’s composition’s exposure is just right.
On point-and-shoot cameras, half-press the shutter button to hold your exposure settings, then press the button all the way down to snap the picture. Take a few photos until you find the one you love.
If you’re able to get really close (within 10 to 15 feet) to your subject, turn on your flash and recompose the photo. Though it may seem counter-intuitive to turn on the camera’s flash during daytime, the flash may brighten areas that would otherwise be darkened by the camera’s exposure feature.

© Sherman Geronimo-Tan
Angles
If you’ve seen one picture of a flower, you’ve seen them all, right? A trick to making a tulip or any other object photogenic is to play around with camera angles.
Instead of standing over a patch of wildflowers and snapping away, crouch down and get the camera to take in all the details that your eyes see: vibrant color contrasts, the texture of the petals, the gentle breeze pushing it to one side.
Instead of taking a dead-on shot, move around the subject and take a few photos. Stand up, climb or crawl around on the ground to get the angle that will capture the significance and uniqueness of the subject.
Motion
No matter how quick your finger is on the trigger, it’s easy to miss a quickly-moving object or have the shot turn out blurry. To capture a fast-moving object such as a car driving by, increase your camera’s shutter speed and try to angle yourself so that you are slightly in front or behind the object as it is moving, rather than being next to it as it passes you.
This also works with photos taken from a moving car; take photos ahead or behind you with an increased shutter speed. Avoid pointing your camera out the side windows, unless you like the look of blurry landscapes.